Need to get your blouse measurements right? This guide helps home sewists and anyone ordering custom blouses take accurate measurements for a perfect fit. We’ll walk through the essential body measurements you need, show you how to calculate custom blouse dimensions, and troubleshoot common measurement problems that lead to ill-fitting garments.
Essential Body Measurements for Blouse Fitting
A. Bust/Chest Measurement Techniques
Ever tried on a blouse that gaped at the buttons? That’s what happens when you skip proper bust measurements. Grab a tape measure and wrap it around the fullest part of your bust, keeping it parallel to the floor. Don’t pull too tight – you should be able to slip a finger under the tape. And please, don’t measure over a padded bra unless you plan to always wear one with that blouse.
Pro tip: Take this measurement twice – once while standing relaxed and once with your arms raised. The difference tells you how much ease you’ll need for movement.
B. Waist and Hip Measurements
Your waist measurement is crucial for blouses, especially fitted styles. Find your natural waistline (the narrowest part) and wrap the tape around, breathing normally.
For hips, measure the widest part of your bum – usually about 7-9 inches below your waist. This matters for longer blouses that fall past your waist.
C. Shoulder Width and Arm Length
The shoulder seam of your blouse should hit right at your shoulder edge. Measure from one shoulder edge to the other across your back.
For arm length, bend your elbow 90 degrees, start at your shoulder edge, measure down to your elbow, then to your wrist. Add an inch if you hate tight sleeves.
D. Neck Circumference
Wrap the tape around the base of your neck where a necklace would sit. Add half an inch for comfort. This measurement is essential for collared blouses and prevents that choking feeling we all hate.
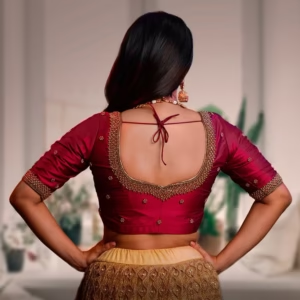
E. Back Length
Stand straight and have someone measure from the prominent bone at the base of your neck down to where you want the blouse to end. This measurement determines if your blouse will stay tucked in when you raise your arms.
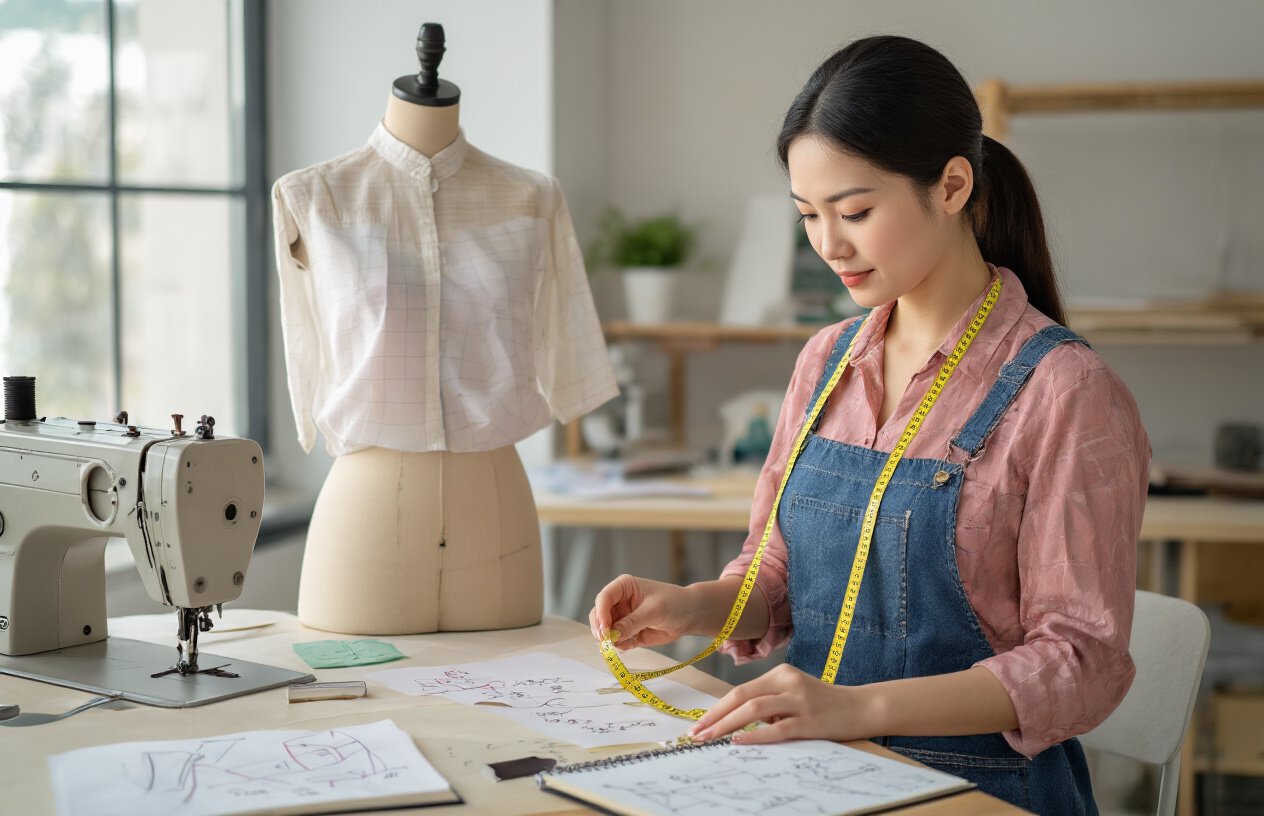
Tools and Techniques for Accurate Measurements
Selecting the Right Measuring Tape
Getting accurate blouse measurements starts with having the right measuring tape. Not all measuring tapes are created equal!
Grab a flexible fabric measuring tape – those stiff metal ones from your toolbox will give you all kinds of wrong numbers. The fabric tape curves with your body instead of creating awkward straight lines.
Look for one with clear, easy-to-read numbers on both inches and centimeters. And check if it’s stretched out! An old, stretched measuring tape can add unwanted inches to your measurements.
Quick tip: If you don’t have a proper measuring tape, use a piece of string and then measure it against a ruler. Not ideal, but it works in a pinch.
Proper Posture During Measurement
Stand up straight but natural – no military posture or slouching. Think about how you normally stand when wearing clothes.
Keep your arms relaxed at your sides when measuring your bust, waist, and hips. When measuring sleeve length, bend your arm slightly at the elbow.
Breathe normally! Don’t hold your breath or suck in your stomach. Your blouse needs to fit the real you, not the “holding it in” version.
When to Take Measurements
Timing matters more than you think!
Take measurements in the morning before eating when your body is at its natural state. Avoid measuring after heavy meals or workouts.
For women, avoid measurement during periods when bloating might occur – unless you specifically want clothes that fit comfortably during that time.
Measure twice on different days for consistency. Bodies fluctuate daily, so averaging two measurements gives you more accurate numbers to work with.
If you’re planning a blouse for a special occasion months away, schedule regular measurements if you’re gaining or losing weight.
Understanding Blouse Size Charts
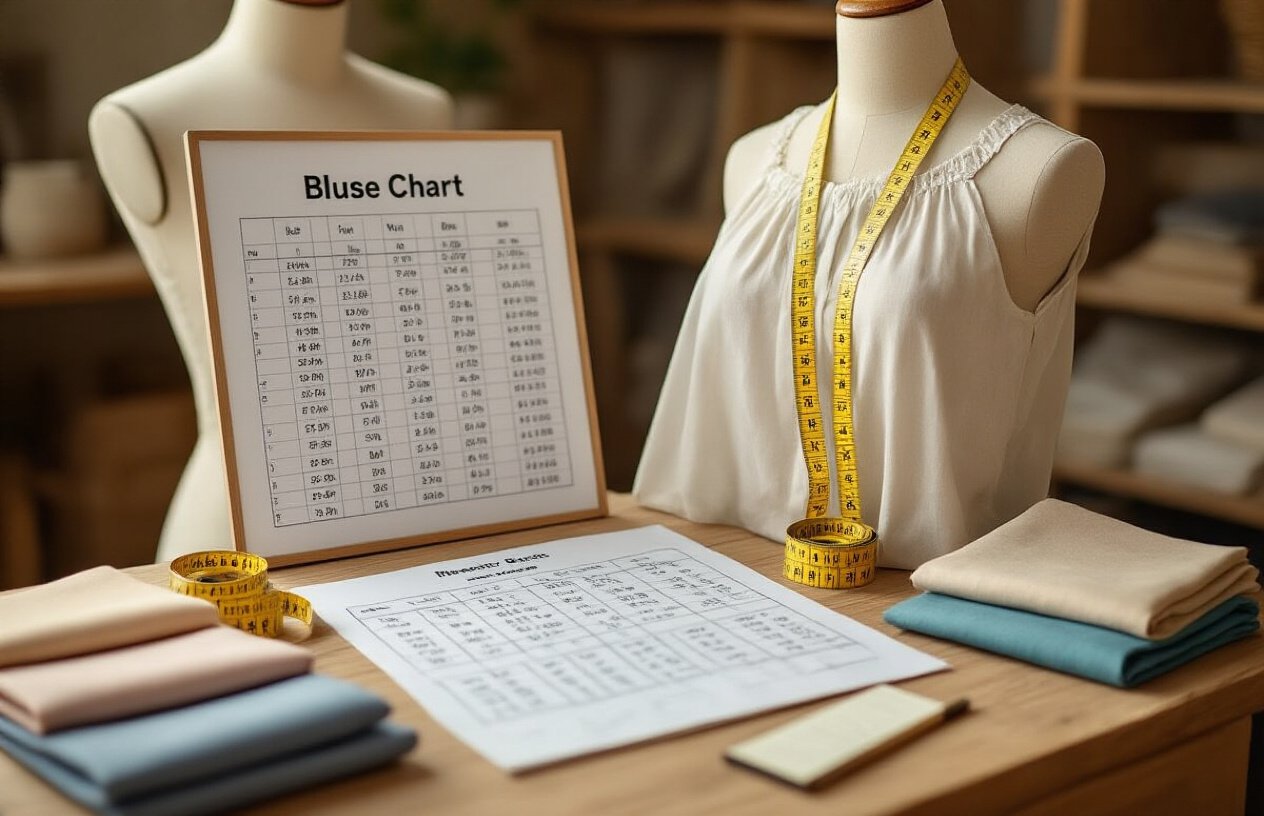
Standard Size Chart References
Finding your perfect blouse fit starts with a reliable size chart. Most clothing brands offer their own charts, but they’re not all created equal. Check out these go-to references:
- RTW (Ready-to-Wear) Charts: These standard charts from major retailers give you ballpark measurements.
- Pattern Companies: Butterick, Simplicity, and McCall’s offer detailed charts if you’re sewing your own blouse.
- International Standards: Organizations like ISO and ASTM publish sizing standards used by many manufacturers.
Trust me, keeping a few reliable charts bookmarked will save you hours of returns and exchanges!
Converting Between Different Sizing Systems
Ever ordered a blouse online only to receive something that looks like it was made for a doll? Size confusion is real!
| Region | System | Example Conversion |
|---|---|---|
| US | Numeric (2-16) | US 8 ≈ UK 12 ≈ EU 40 |
| UK | Numeric (6-20) | UK 14 ≈ US 10 ≈ EU 42 |
| EU | Numeric (34-52) | EU 38 ≈ US 6 ≈ UK 10 |
| Asia | Smaller sizing | Asian L ≈ US M ≈ UK 12 |
Pro tip: Don’t rely solely on these conversions. Always check the actual measurements in inches or centimeters. That’s your true north.
Accommodating Body Shape Variations
Standard charts don’t account for your unique curves. When measuring for a blouse, consider your body shape:
- Apple shapes: Allow extra room in the waist measurement
- Pear shapes: Size to your bust, then adjust for wider hips
- Hourglass: Choose based on your larger measurement (bust or hips)
- Rectangle: Focus on shoulder width and sleeve length
Sometimes you’ll need to go custom or adjust off-the-rack pieces. Remember, it’s not you—it’s the standardized sizing system!
Size Chart Limitations
Size charts are just starting points. They typically don’t account for:
- Fabric stretch and drape
- Preferred wearing ease (how loose/tight you like clothes)
- Body proportions beyond basic measurements
- Design variations like princess seams or darts
The blouse measurement game isn’t perfect. That’s why many women end up with closets full of different sizes. Don’t get discouraged if the numbers don’t match your expectations—focus on how the garment actually fits your body.
Calculating Custom Blouse Measurements
Basic Measurement Formulas
Getting your blouse measurements right isn’t rocket science, but it does require precision. Start with these basic formulas:
- Bust: Measure the fullest part of your bust, then add 2-4 inches for movement
- Waist: Measure where you naturally bend, typically the narrowest part
- Shoulder width: Measure from shoulder point to shoulder point across your back
- Sleeve length: Measure from shoulder point to desired length, usually at wrist bone
- Armhole depth: Measure from shoulder point to underarm, add 1/2 inch
- Neck width: Measure around base of neck, add 1/2 inch for comfort
Adding Ease for Comfort
Nobody wants a blouse that feels like a second skin (unless that’s your style). Ease is your friend here:
- For fitted blouses: Add 1-2 inches to bust and waist measurements
- For semi-fitted: Add 2-3 inches
- For loose-fitting: Add 3-4 inches or more
Remember, ease isn’t just about comfort—it’s about movement. Try raising your arms above your head. If your current blouse rides up too much, you need more ease.
Adjusting for Different Fabric Types
The fabric makes a huge difference in how your blouse will fit:
| Fabric Type | Adjustment Needed |
|---|---|
| Cotton/Linen | Standard measurements + regular ease |
| Silk/Satin | Add less ease (1-1.5 inches) as they drape naturally |
| Stretchy knits | Reduce ease by 0.5-1 inch, fabric provides natural give |
| Heavy fabrics | Add slightly more ease for movement |
Accounting for Design Features
Design details can throw off your calculations if you’re not careful:
- Pleats/Gathers: Add 2-4 inches to bust measurement depending on fullness desired
- Darts: No additional adjustment needed—they create shape without changing measurements
- Buttons: Add 1/2 inch to front panels for button plackets
- Collars: Measure neck circumference accurately, add 1/4 to 1/2 inch for comfort
- Fitted sleeves: Measure bicep circumference and add 1-1.5 inches for movement
When measuring for princess seams, take vertical measurements from shoulder to bust point, and bust point to waist—these create that gorgeous contoured fit everyone loves.
Common Measurement Problems and Solutions
Addressing Asymmetrical Body Features
Nobody’s body is perfectly symmetrical, and that’s what makes us unique! One shoulder might sit higher than the other, or you might have one bust slightly larger than the other. These differences can make your blouse fit awkwardly if not addressed.
Quick fix? When taking measurements, always go with the larger side. If your right bust is bigger than your left, use that measurement. Your blouse will fit comfortably over both sides, and you can make minor adjustments later.
For significant asymmetry, consider custom alterations after purchasing. A good tailor can work wonders by adding darts or taking in fabric where needed to create balance.
Accommodating Posture Variations
Your posture dramatically affects how a blouse fits. Rounded shoulders, sway back, or an erect posture all change where fabric pulls or sags.
When measuring:
- Stand naturally – don’t artificially straighten up
- Have someone else take measurements if possible
- Take measurements both sitting and standing if you’ll be doing both in the blouse
Many women slouch during measurement then wonder why their blouse pulls across the upper back when they’re moving normally. Be yourself during the measuring process!
Adjusting for Special Requirements
Need extra room for movement? Working in a physical job? Pregnant or experiencing body changes?
Add ease to specific areas:
- For range of motion: Add 1-2 inches to sleeve measurements
- For pregnancy: Consider side panels that can expand
- For comfort sitting: Add length to the back measurement
Don’t feel confined by standard sizing charts. Your blouse should work for YOUR life and YOUR body’s needs.
Remember that standard patterns assume a certain body type. If you’re very tall, petite, plus-sized, or have a unique proportion like a long torso, you’ll need to make additional adjustments to standard calculations.
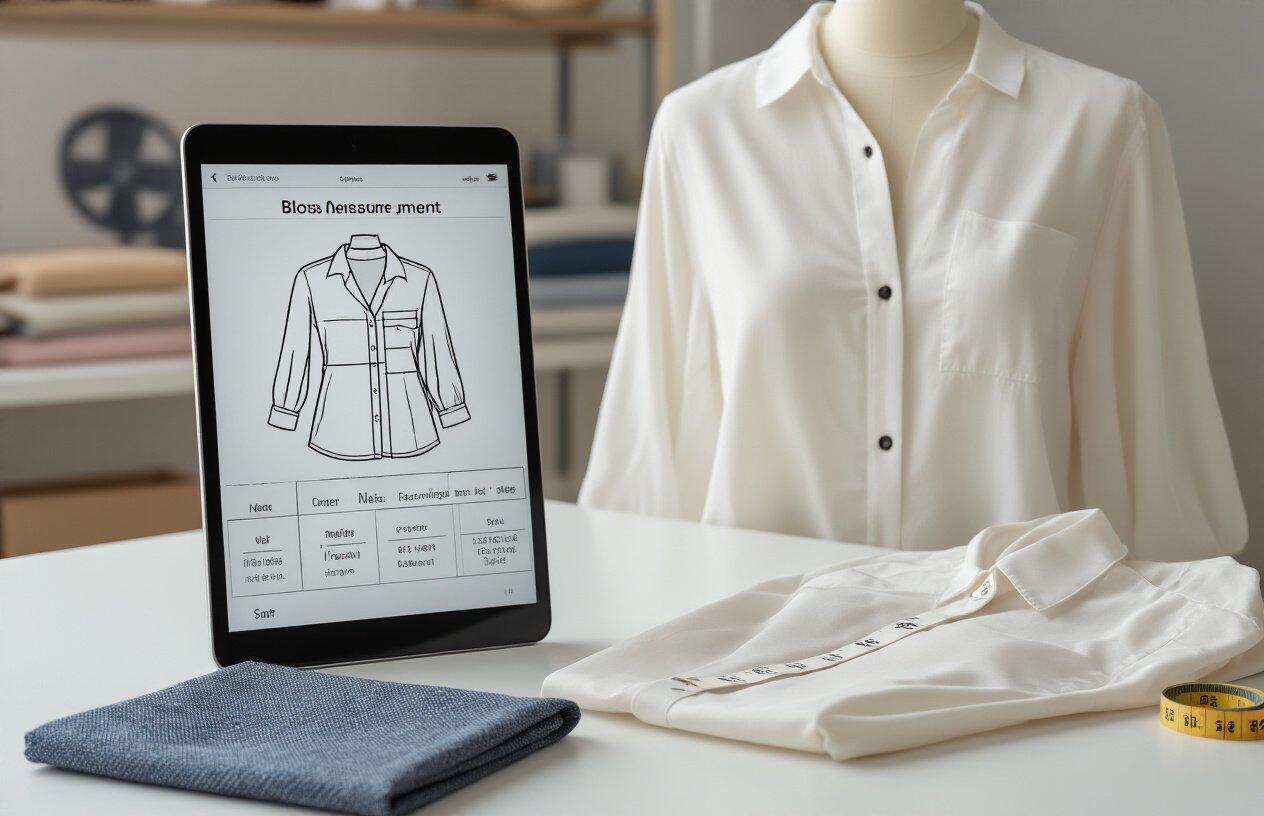
Digital Measurement Technologies
3D Body Scanning Options
Gone are the days of wrestling with measuring tapes and hoping you’ve got it right. 3D body scanning is changing the game for blouse measurements, and it’s way cooler than it sounds.
Walk into any high-end tailor shop today and you might find yourself standing in a booth that looks straight out of a sci-fi movie. In just seconds, hundreds of sensors capture your exact measurements with precision that human hands simply can’t match.
Home options are popping up too. Companies like Size Stream and Human Solutions offer consumer-level scanners that create your digital twin with measurements accurate to within millimeters.
The real magic? These scans don’t just give you numbers. They create a complete 3D model of your body that shows exactly how fabric will drape and where you might need extra room.
Mobile Apps for Body Measurements
Your smartphone just became your personal tailor.
Apps like MTailor, Sizer, and 3DLOOK use your phone’s camera to capture your measurements with surprising accuracy. Just snap a couple of photos (usually front and side views), and the AI does the rest.
Most of these apps use some clever tricks:
- Computer vision to detect body landmarks
- AI algorithms that calculate measurements from 2D images
- Cloud processing that improves with each new user
The convenience factor is off the charts. Measure yourself anytime, anywhere, without help from anyone else.
Virtual Fitting Technology
This is where things get really interesting.
Virtual fitting tech takes your measurements and shows you exactly how a blouse will look on your body before you buy it. No more ordering three sizes and returning two.
The best platforms create realistic simulations that show:
- How the fabric will drape on your curves
- Where it might pull or sag
- How different fabric types change the fit
- What adjustments would improve the fit
Retailers like Amazon are already implementing “virtual try-on” features. Custom tailoring platforms take it further, letting you design your perfect blouse on your digital body double.
Precise measurements are the foundation of a perfectly fitted blouse that flatters your figure and provides comfort throughout the day. By mastering the essential body measurements, utilizing the right tools, and understanding how to interpret size charts, you can achieve professional-level results whether purchasing ready-made blouses or creating custom designs. The calculation methods and troubleshooting tips shared in this guide provide practical solutions to common fitting challenges that many encounter.
As technology evolves, digital measurement tools are making the process increasingly accessible and accurate. Whether you prefer traditional measuring tapes or innovative apps, remember that taking the time to measure properly will save you from disappointing purchases and uncomfortable garments. Your perfect blouse awaits—one carefully calculated measurement at a time.